The birch is a classic tool and there are particular nuances to preparing and using birch rods. The positive aspect of the birch is that even a beginner can easily control the force and direction of the strike.
What to Choose?
Good birch rods should be moderately flexible, so they don’t break upon impact, but not too soft either. Birch rods are typically considered the best, as they balance between flexibility, stiffness, and durability. Some people prefer rowan rods, which offer a different sensation and after-effect compared to birch. Young rowan branches provide a straight but brittle rod. Others favour willow branches. Willow trees love water, and perhaps for this reason, their branches are always flexible and fairly heavy, making a flogging with them much more painful. The most suitable type of willow is basket willow (Salix viminalis), though goat willow or eared willow can also be used. White willow (Salix alba) is less suitable for making rods. There’s another excellent option. In Egypt, Cornus sanguinea (red dogwood) was used. In Russia, they have Cornus alba Sibirica (Siberian dogwood). The wood of dogwood is very hard and strong but flexible — you can tie thin rods into a knot. Moreover, they are perfectly straight. Sometimes hazel branches or maple branches are used too.
Preparation
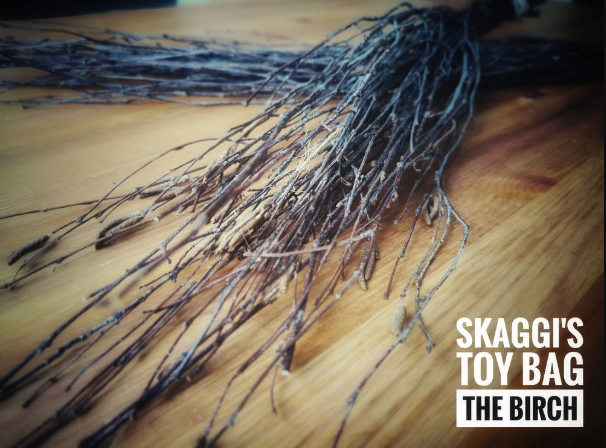
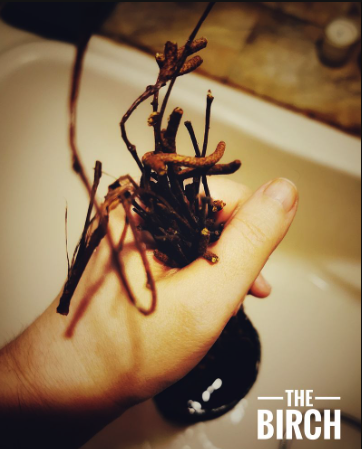
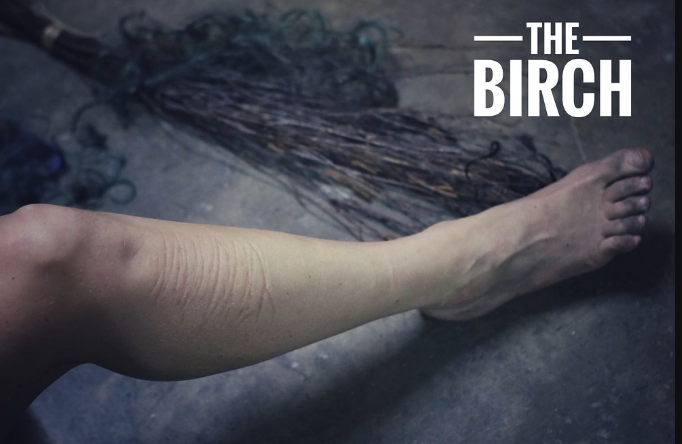
Only smooth branches and young shoots are used for birch rods. They’re easiest to find in early spring, as the task becomes much harder in autumn or summer when the wood becomes brittle. It’s always better to select birch growing near water. The rods should be cut from higher up, near the treetop. Therefore, it’s a good idea to find an undergrowth of young birch trees about human height, where selecting branches is easier. You can find plenty of young birch trees in railway clearance zones, where they are periodically cut down. Don’t seek perfection: when bundling the rods together, minor imperfections in the branches will be less noticeable. Just try not to pick overly crooked branches, as they might tear the skin. It’s important to note how easily a branch snaps off from the trunk. If it comes off too easily, it’s a poor-quality rod; if you have to twist and tug to break it off, it’s likely to be a good one. While it’s easier to use a small axe or knife, it’s better to test by trying to snap the branch off.
How long should the rods be?
It depends on the desired outcome. What kind of pain brings pleasure, and what becomes more of a punishment rather than a subspace experience, and so forth. The intensity of the pain can be varied by using rods of different lengths and thicknesses. Historically, the typical options were as follows: 30-40 cm rods were used for spanking young children. Rods used to punish older children were usually about 70 cm long and slightly thinner than a little finger; for boys, they could be a bit longer and thicker. Adults were punished with rods up to 110-140 cm. To avoid breaking the skin, the ends of the rods should be carefully aligned!
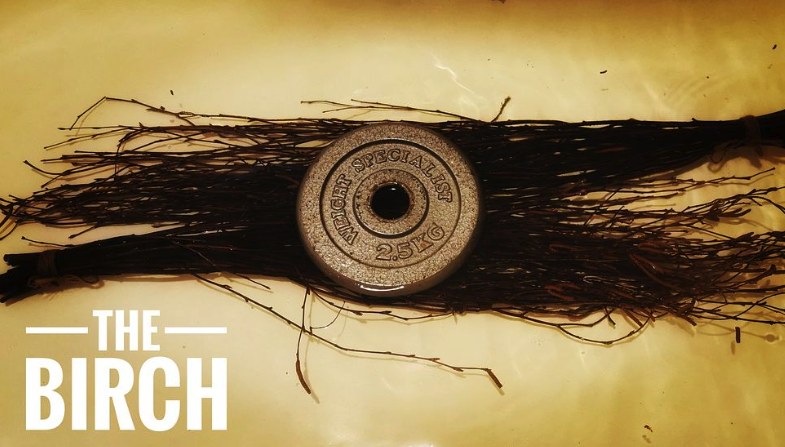
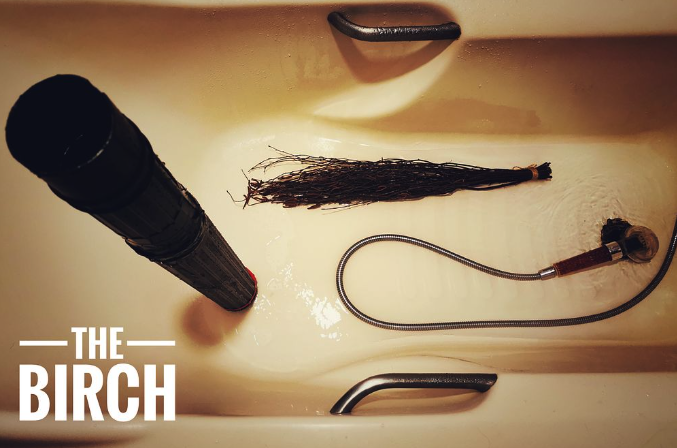
It is crucial to prepare the freshly cut rods properly to maintain their flexibility. For better flexibility, rods are best used fresh. Branches dry out quickly, so freshly cut rods should be placed in water. They absorb water, becoming more flexible and heavier. The force of the blow depends on the weight of the rods and the speed of the strike. If soaking the prepared rods isn’t an option, wrap them in a wet cloth to prevent them from drying out.
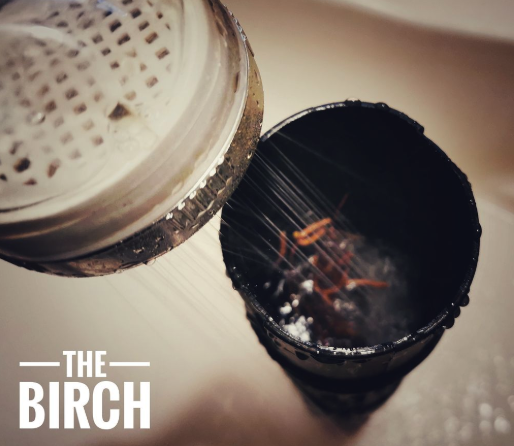
You can prepare rods for winter by drying the cut branches. However, they become brittle and require preparation before use: dry rods should be soaked. There are different recipes for soaking rods. The rods are steamed in hot water and then left to soak in a barrel of water until ready for use.
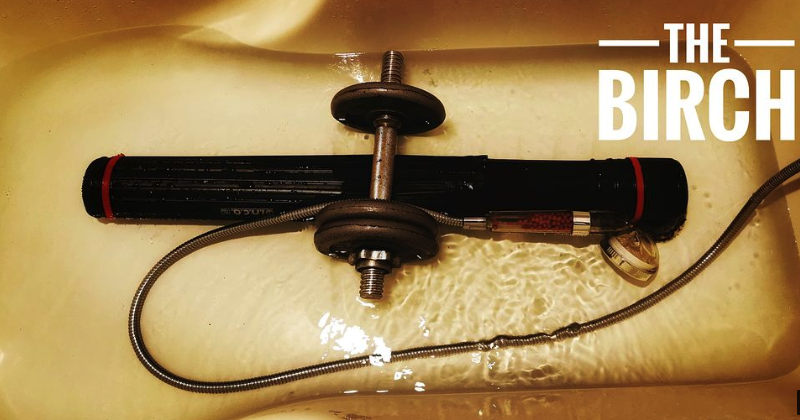
Soaking in brine is a classic method that also disinfects and adds a subsequent effect: salt on the whipped skin. Notably, rods swell much better in brine. Sometimes vodka or alcohol is added to the soaking water to prevent it from going bad. It’s best to start soaking at least 24 hours in advance. If sterilisation measures are taken, rods can be soaked for weeks without diminishing in quality. However, if the water becomes tainted or smells bad, the rods should not be used as this could lead to serious consequences, such as infection.
Should the buds and small irregularities be removed? Each bump causes additional pain, and they are what cause bruises. Classic rods weren’t entirely stripped. Rods with all the buds removed were called “velvet” rods. I recommend these for beginners. Choose for yourself.
Using the Birch
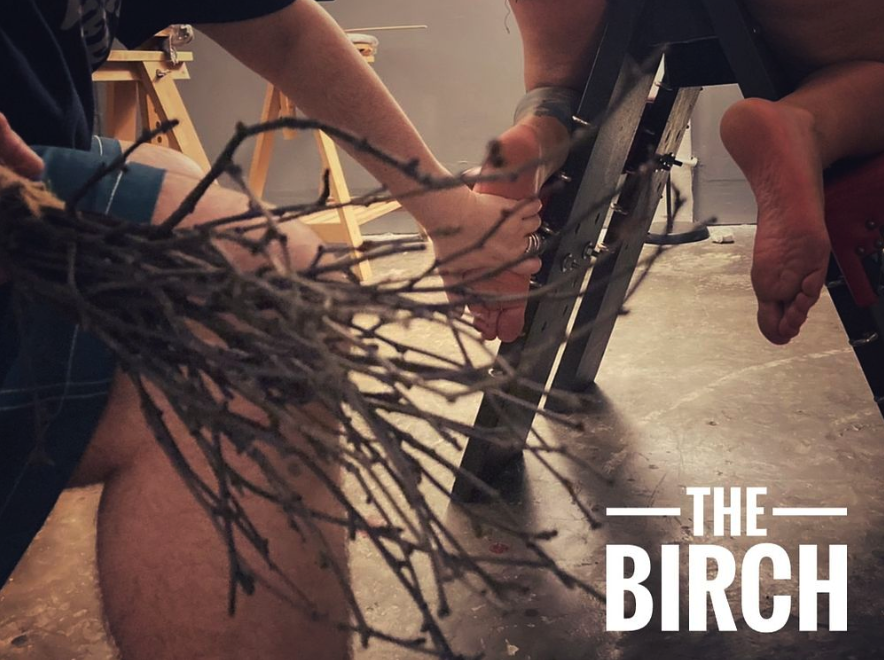
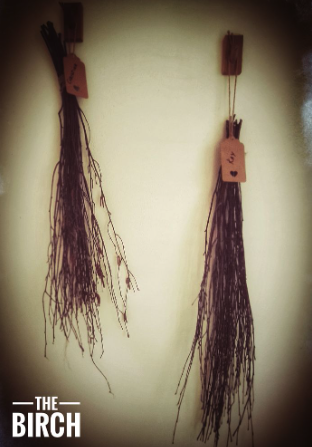
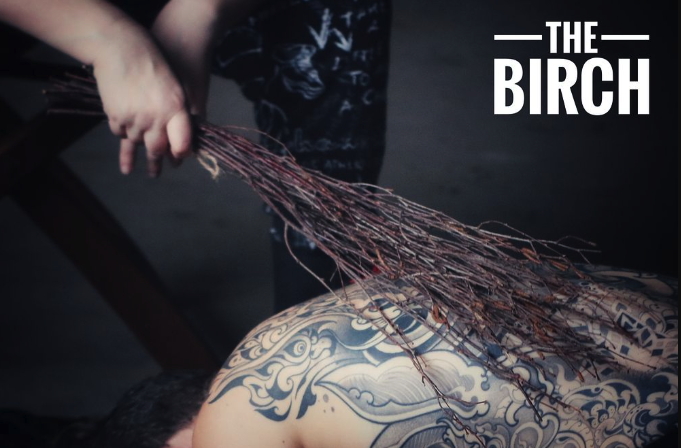
Depending on the length and thickness of the rods, either a single rod or, more commonly, a bundle of 3-5 rods was used. The distributed impact of such a bundle is less traumatic, allowing for a greater number of strokes. Short, thin rods can be bundled in 10-15, forming a “broom.” This causes less sharp pain but can have a strong effect that manifests later. If you’re using a single rod, it must be straight to avoid breaking the skin.
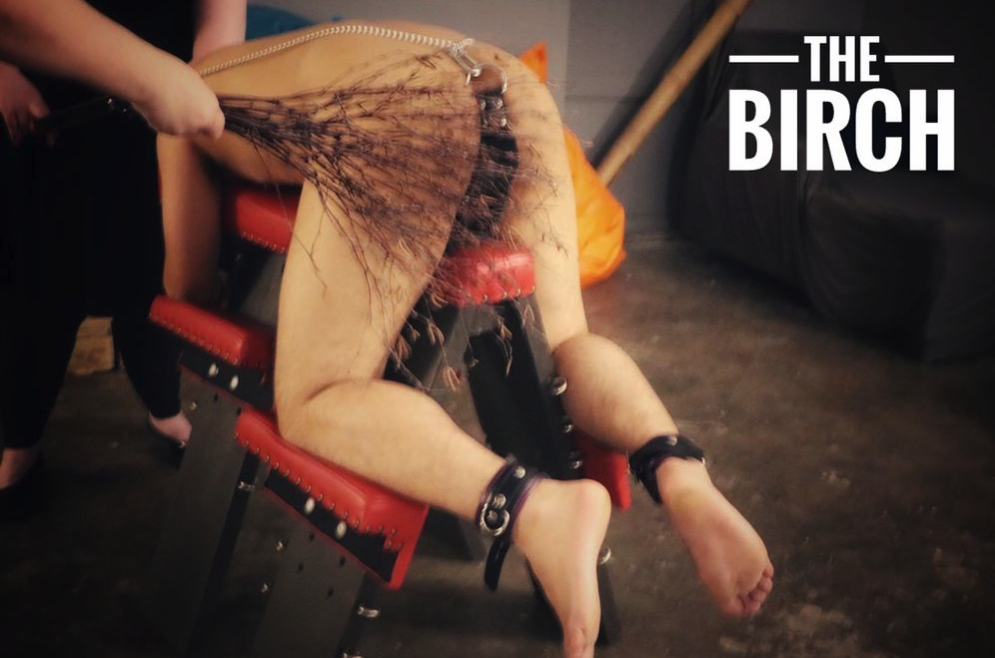
The optimal area for impact is the buttocks (and for beginners, it’s the only recommended area). Depending on the goal, rods can be used with varying intensity. A springy strike with the tips is the best method when aiming for subspace. If you strike hard and pull back, the marks will linger for a long time. However, the positive aspect of the birch is that even a beginner can easily control the force and direction of the strike.
The pace is very important when using rods. The pain felt by the recipient doesn’t diminish but rather intensifies about 30 seconds after the strike. Therefore, it’s better to pause between strikes, allowing the wave of pain to “settle in.” You can wait even longer, giving the person a chance to relax, or stack the waves of pain. Don’t rush.
The birch, however, is quite a harsh tool, and the sight of a well-beaten bottom may convincingly signal the need to stop the scene.